Start guide
Get started with Dawnguard using this step-by-step guide.
Overview
The Start guide walks you through the initial steps required to begin using Dawnguard.
From this guide, you will:
- Set up Single Sign-On (SSO) to access the platform
- Connect your cloud environments to Dawnguard
- Customize the platform by adding company‑specific context
- Configure scopes and teams
- Explore your architecture and view the first insights
Once these steps are completed, you can start exploring your cloud architecture and optimizing your existing environments using Dawnguard.
1. SSO Setup
Create an App Registration and share OIDC details (tenant ID, client ID, and domain) via the Dawnguard SSO configuration form to complete setup and enable your organization environment. For Microsoft Entra ID, an email will be sent with a Single Sign-On link.
For more details check the Single Sign-On (SSO) section.

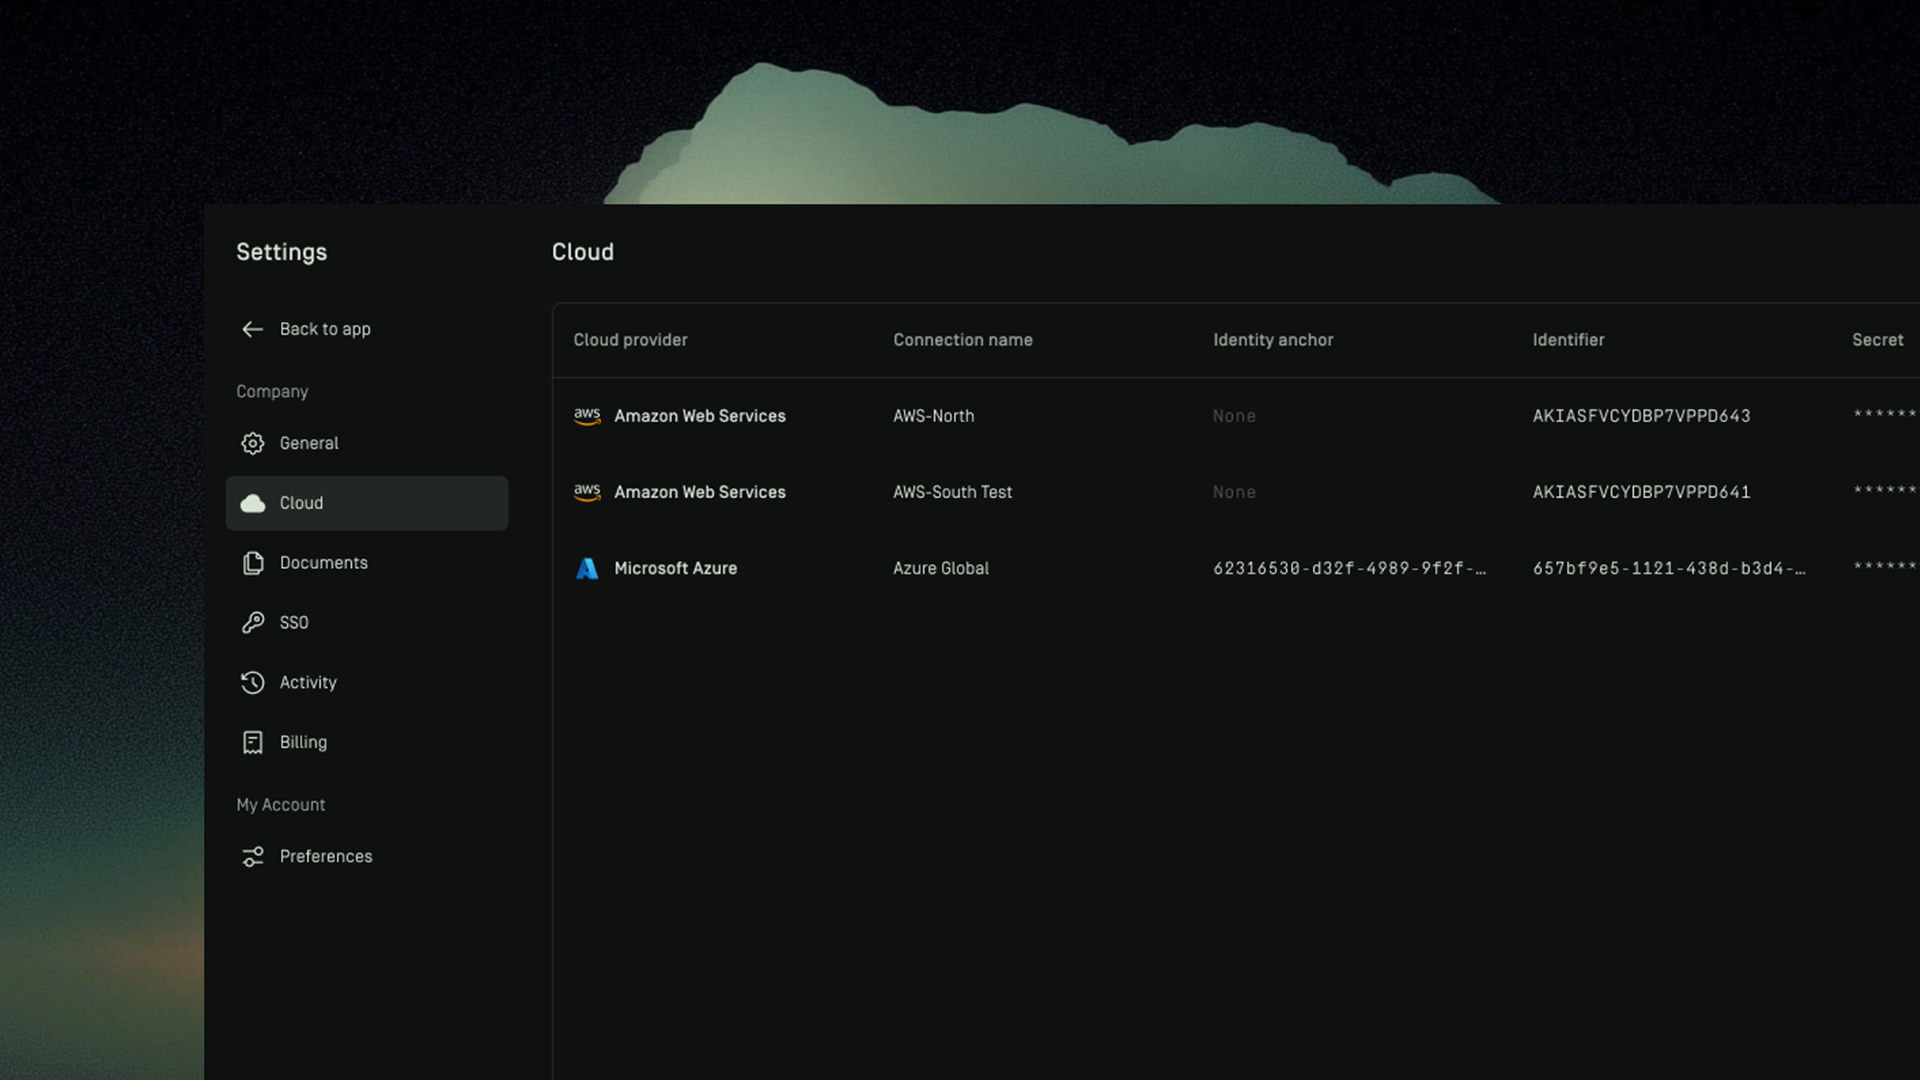
2. Connecting your cloud
Once you have gained access to the Dawnguard platform. The first step you should take is to connect your Cloud environment(s). To do so, you must create a service principal (Azure) or service account (AWS).
Using your service principal or service account you can now easily connect your Azure and/or AWS cloud environments to Dawnguard.
For more step-by-step instruction view our cloud page.
3. Customizing Dawnguard
Now that you have connected your cloud(s), you can further customize Dawnguard. Customization is done by adding company specific context to the platform. You can do this multiple ways.
- Upload documents that are specific to your company, like policy documents, budget information, etc
- Enable compliance guardrails like ISO 27001, NIST, GDPR, etc in one-click
Once you have provided the specific context for your organization, the insights in the platform will be tailored to your organization immediately.
4. Set up Scopes and Teams
Now that you have provided more context for Dawnguard to generate insights, it is mandatory to set up Scopes and Teams.
- Scopes define what Dawnguard evaluates and determine which rules apply to specific environments.
- Teams are used to manage access by grouping users and assigning scopes.
Only users who are part of a team with an associated scope will be able to view insights and access the full canvas in Dawnguard.
If a user logs in and sees a blank view even though the cloud is connected and syncing is active, it is probably because:
- they are not assigned to a team, or
- their team does not have an associated scope.
5. Explore your architecture
Congratulations, you are ready to explore your architecture and view the first insights to optimize your existing cloud!
View our published page for more details on how to explore your architecture.